Monthly food magazines often spark creative ideas in my kitchen. They bring to my attention what's fresh, in season, matching herbs/ingredients and educates this little amateur cook about storage, food handling tips and a wide range of various food cultures. This month, the GoodTaste magazine introduced Creole cuisine. I was thrilled!! "Creole" was a new term for me..but as I flipped through the pages I recognized it's native dishes such as the Jambalaya, Cos Chef salad and crab cakes! I've had them before...just never knew where they came from!
A strange learning habit I have is to "Google-it" whenever I craved more information...
I google everything..... i mean...EVERYTHING! LOL
Wikipedia is probably one of my favourites too.
Here are snippets of what they had to say about Creole culture, background, cuisine and its origins.
The term Creole and its cognates in other languages — such as crioulo, criollo, créole, kriolu, criol, kreyol, kriulo, kriol, krio, etc. — have been applied to people in different countries and epochs, with rather different meanings. Those terms are almost always used in the general area of present or former European colonies in other continents, and originally referred to locally-born people with European ancestry. However, this original meaning has often changed over the last five centuries, and in many cases the term has come to designate some distinct local ethnic group — often, but not always, of mixed European and native ancestry.
In Spanish-speaking Latin America, the word criollo (cognate and closest equivalent of English Creole) generally refers to people of unmixed European (typically Spanish) descent born in the New World. According to the Spanish caste system, people with European and indigenous origin who possessed 1/8th or less of Amerindian ancestry, were also considered criollos (unlike people with mainly European and some black African ancestry, who were deemed to be mulatto or mixed-raced regardless of their percentage of white ancestry). In any case, the expression Spanish American criollo is only applicable to people born in the New World. Throughout the colonial period, a caste system was effectively in force, where the local-born criollos ranked strictly lower than governing peninsulares ("born in the Iberian Peninsula"), despite both being of European ancestry. By the 19th century, this discrimination eventually led the criollo to rebel against the Spanish rule. With the support of the even lower classes — castizos, mestizos, cholos, mulattos, amerindians, zambos, and ultimately blacks — they engaged Spain in the Mexican War of Independence (1810–1821) and the South American Wars of Independence (1810–1826), which ended with the break-up of former Spanish Empire in America into a number of independent republics.
The word Creole may refer to
- a person of Spanish (or French or Portuguese) ancestry but born in one of the Spanish (or French) colonies, as opposed to a Spaniard (or Frenchman or Portuguese) born in Spain (or France or Portugal)any of the Creole peoples,
- a number of distinct ethnic groups in various countriesa creole language
- casual reference to mean "pertaining to New Orleans" or aspects of its culture
What I love about Creole cuisine is its fusion of tantalizing flavours from French, Spanish and African influences. It reminds me of
food-from-home (Malaysia) where it's a jumbled combination of Malay, Chinese and Indian flavours. The cultures, food preparation techniques and eating etiquettes are so different, but yet the different flavours have been carefully and creatively harmonized to create a separate cuisine type of its own. According to the magazine,

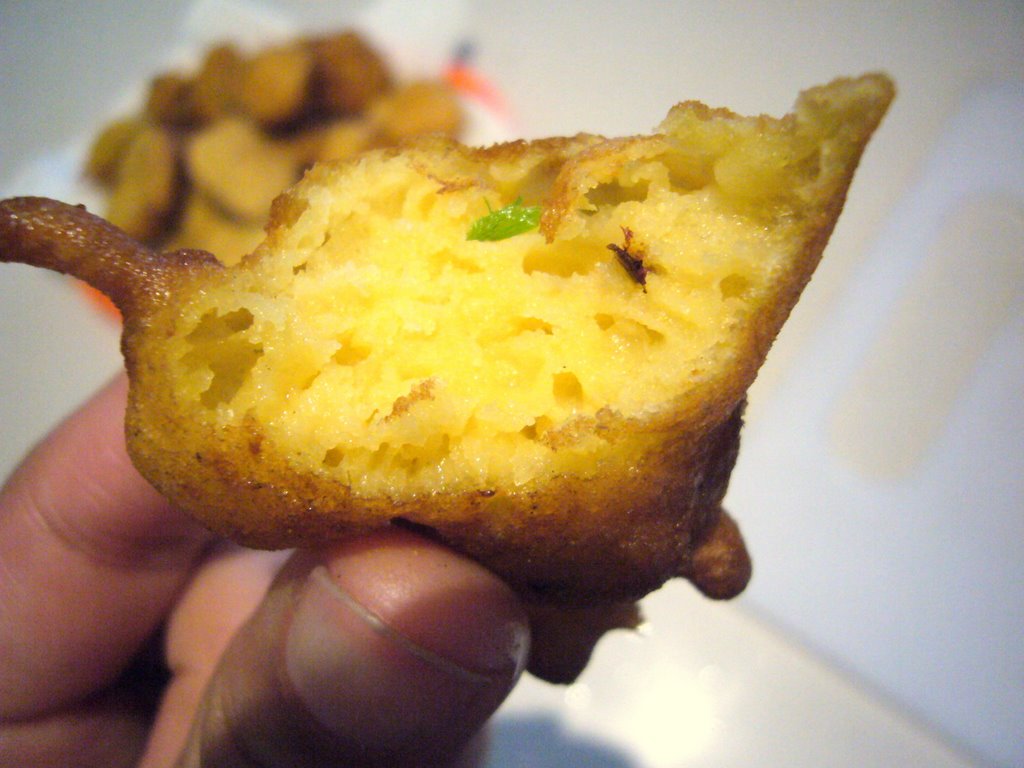
Creole food originated from New Orleans. A huge pat on the back for the creative geniuses whove finally came up with something made from Polenta that I LOVE! ....seriously...like WOW... Those who have been following my torturous attempts of learning to enjoy polenta through the many months will probably understand. TRY THIS RECIPE!

....I'm not kidding.....I was blown away.... *wink*
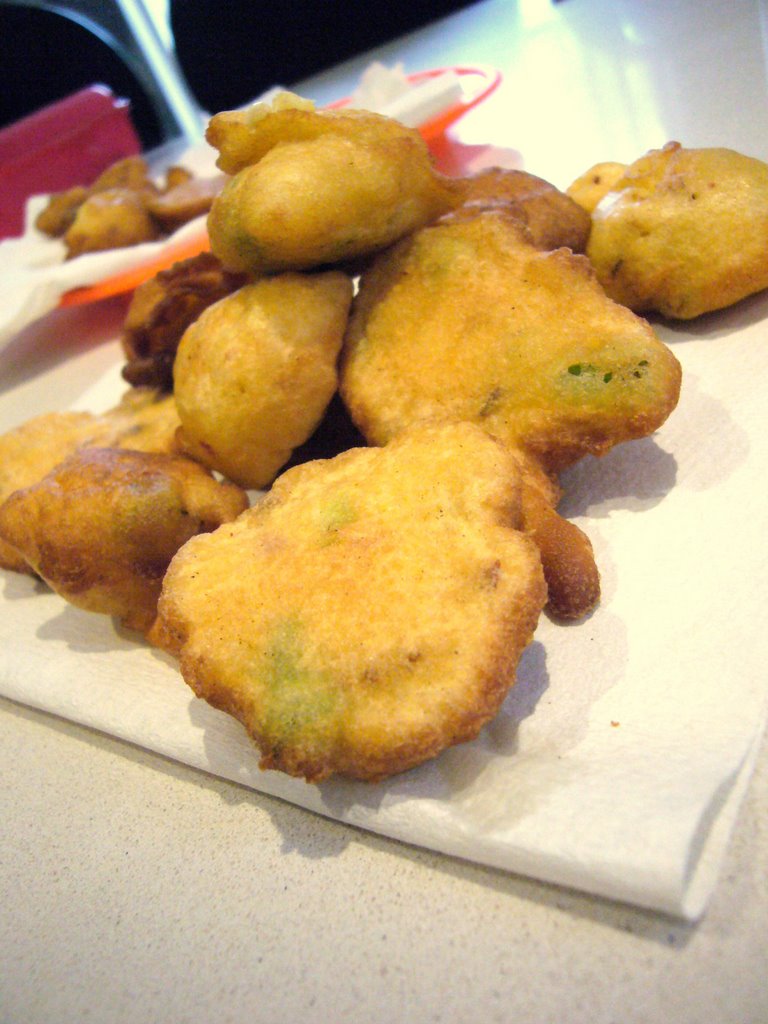
HUSH PUPPIES
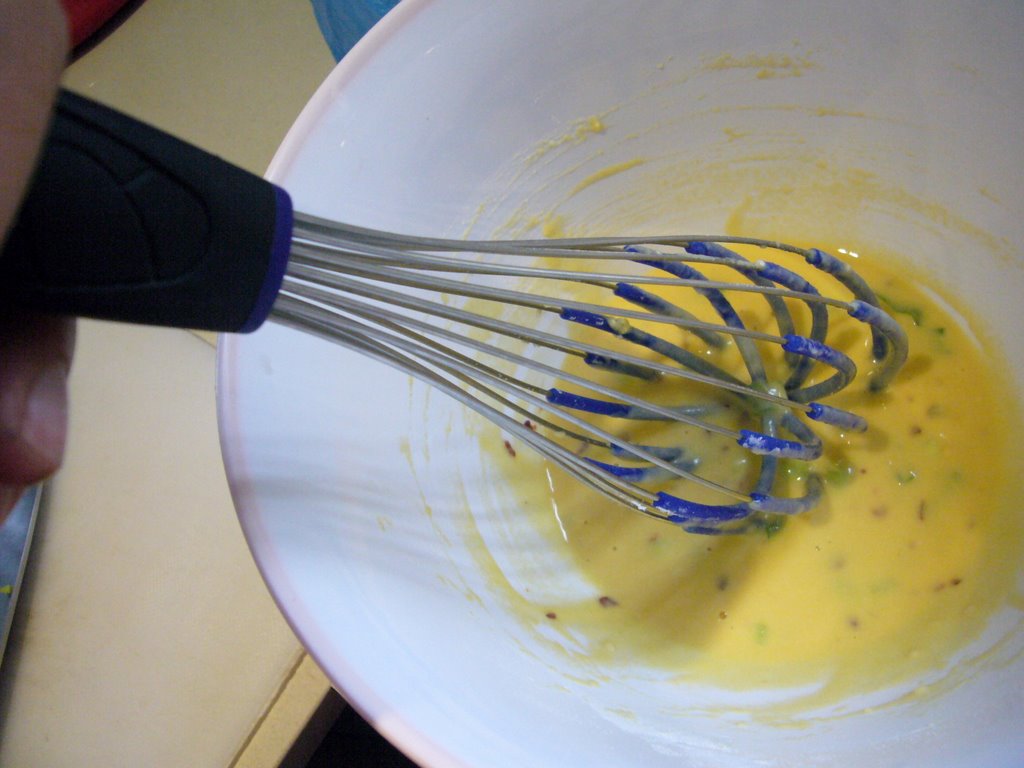
2/3 cup fine grain polenta1/3 cup plain flour1 tbs cornflour1 tsp baking powder1/2 tsp salt2 green shallots finely chopped1 tbsp dried chilli flakes1 egg1/3 cup buttermilkVegetable oil to deep fry.

Combine dry ingredients in a bowl. Add egg, milk and beat lightly with a balloon whisk to combine. Heat oil in a deep saucepan on medium heat. Dash in 2-3 grains of salt to check for a fizzle when the oil is hot enough. Reduce your stove flames a little and carefully drop spoonfuls of batter into the oil 3-4 at a time (Don't overcrowd your pan). Flip them gently in the oil till theyre golden and crisp. Should take less than 5 minutes each turn. Soak excess oil on a paper towel. Serve piping hot!

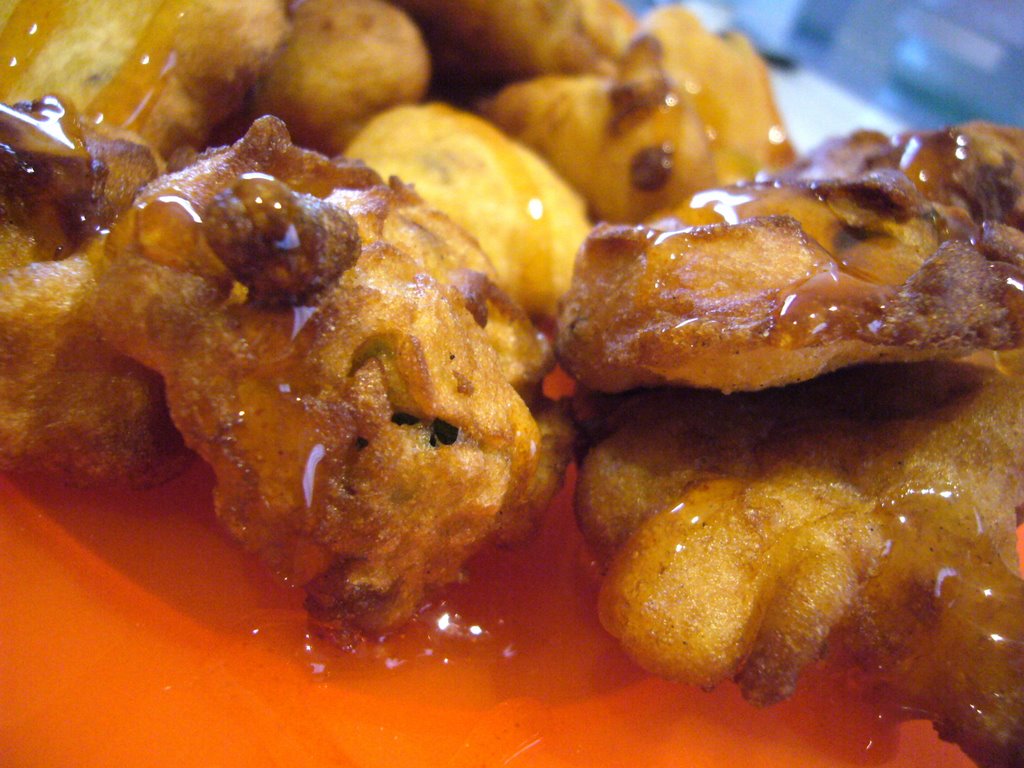
....and if you're eating with Malaysian students...drench the pile in maggi chilli sauce *MMmMmmmmm* HAha! ... this household is hopelessly Malaysian to the core. *blush*

Tags:
polenta puffs budget recipe


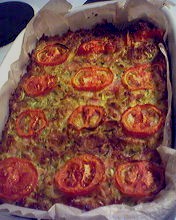
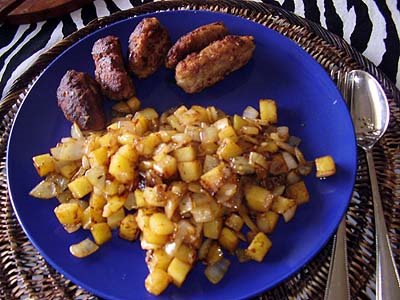
 Quick Rosti